How to Generate an Image with OpenAI and Add It to a PDF Using PDF.co and Zapier
This tutorial explains how to build a Zap that monitors a Google Drive folder for new PDF files, generates an image with OpenAI, adds that image to the PDF using PDF.co, and saves the finished document back to Google Drive.
The workflow uses the following applications:
- Google Drive to receive the source PDF and store the finished document
- ChatGPT (OpenAI) to generate the image
- PDF.co to place the generated image on the PDF
- Zapier to connect and automate the steps
How the Workflow Works
The completed automation follows this sequence:
- A PDF file is added to a designated Google Drive folder.
- ChatGPT (OpenAI) generates an image from a prompt.
- PDF.co places the generated image at specified coordinates in the PDF.
- The completed PDF is uploaded to a separate Google Drive folder.
This workflow works best when the incoming PDFs use a consistent page layout. Because image placement is based on fixed coordinates, documents with significantly different layouts may require separate Zaps or different placement settings.
Requirements
Before creating the Zap, make sure you have:
- A Zapier account
- A Google Drive account
- Access to image generation through ChatGPT (OpenAI) in Zapier
- A PDF.co account
- A sample PDF for testing
- An input folder and a separate output folder in Google Drive
Using separate input and output folders is important. If the finished PDF is saved to the same folder monitored by the trigger, it could start the Zap again and create an automation loop.
Step 1: Determine the Image Position
PDF.co places images using X and Y coordinates. Determine the desired location before configuring the Zap.
You can use the PDF.co PDF Edit Add Helper to find the coordinates:
- Open the helper.
- Upload a representative PDF.
- Select the page where the image should appear.
- Click the intended image location.
- Record the X and Y coordinates.
PDF.co counts PDF pages from zero. Therefore:
- Page
0is the first page. - Page
1is the second page. - Page
2is the third page.
Use an image with dimensions and an aspect ratio appropriate for the available space in the document. If the PDF.co action does not display image-scaling controls, resize the source image before passing it to PDF.co.
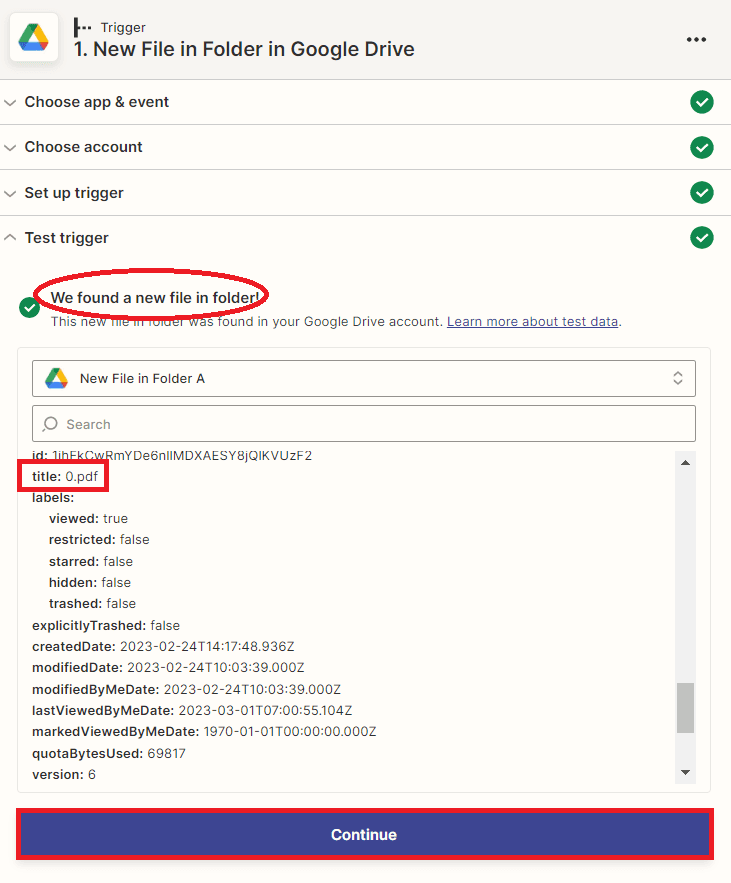
Step 2: Create the Google Drive Trigger
Sign in to Zapier and create a new Zap.
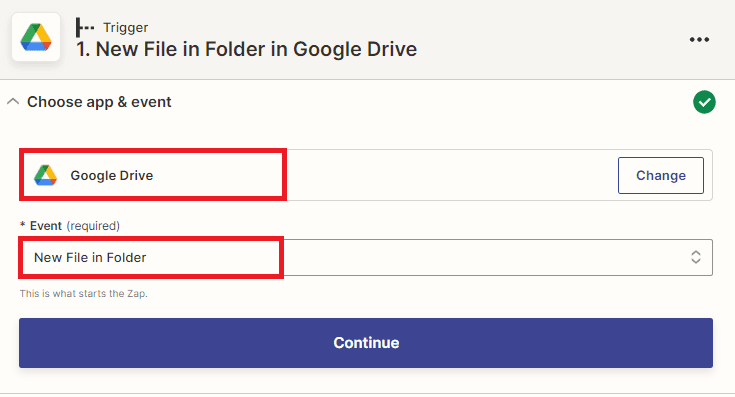
For the trigger application, select Google Drive.
Choose New File in Folder or New File in Folder (Realtime), depending on which trigger is available for your account.
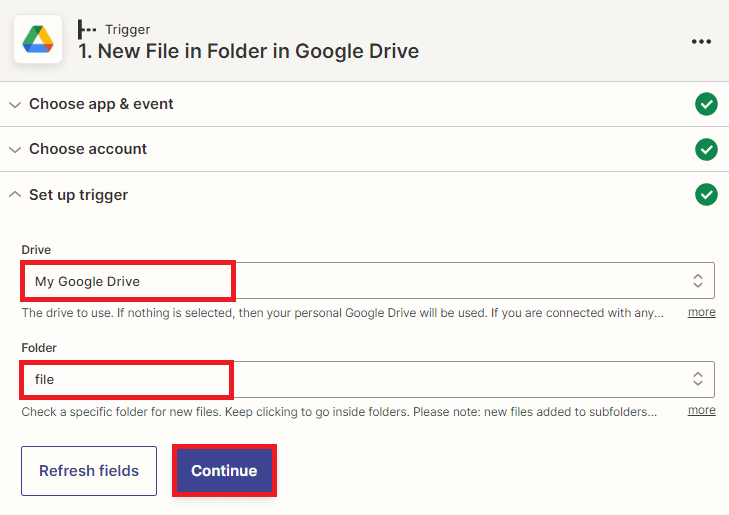
Connect your Google Drive account and configure the trigger:
- Drive: Select the drive containing the source folder.
- Folder: Select the folder where new source PDFs will be placed.
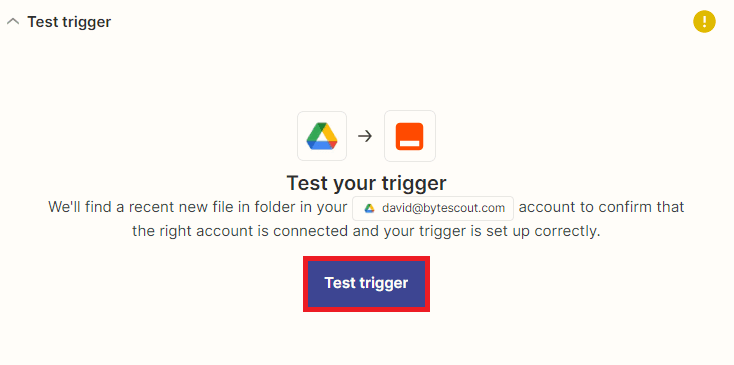
Test the trigger and select a sample PDF. Zapier should retrieve the file and its associated information.
If the monitored folder might receive files other than PDFs, add a Filter by Zapier step after the trigger. Configure the filter to continue only when the file name ends in .pdf or the MIME type indicates that the file is a PDF.
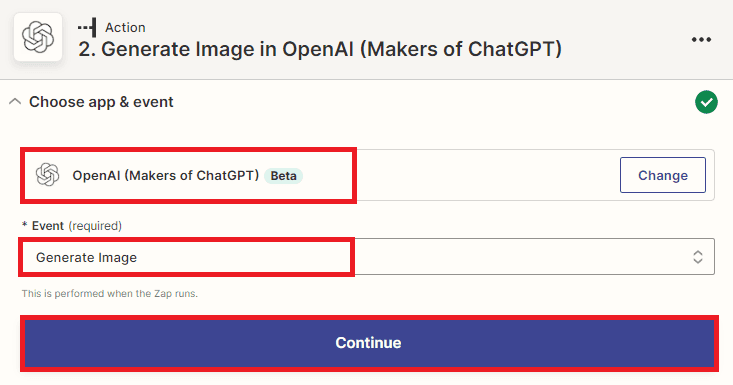
Step 3: Generate an Image with ChatGPT (OpenAI)
Add another step and select the ChatGPT (OpenAI) application.
Choose the current image-generation action offered by Zapier. Zapier migrated the older OpenAI integration and its legacy DALL·E actions to the ChatGPT (OpenAI) app. See Zapier’s OpenAI migration notice.
Connect your account using the authentication process displayed by Zapier.
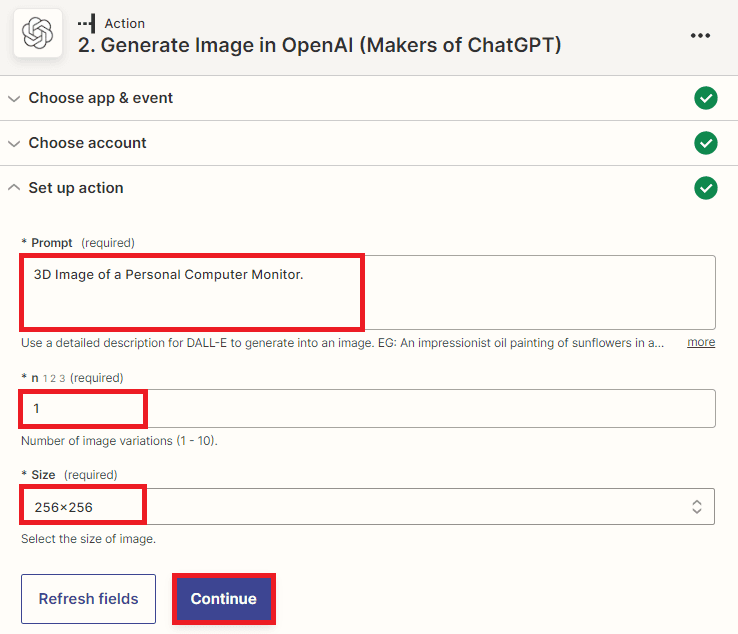
Configure the image-generation action. The exact fields may vary as Zapier updates the integration, but you will normally need to provide:
- Prompt: A detailed description of the image to generate.
- Model: Select a current image-generation model available in Zapier.
- Size or aspect ratio: Choose dimensions appropriate for the space in the PDF.
- Quality: Select an appropriate quality level if the option is available.
For example, the prompt could be:
Create a clean, professional rectangular illustration of a modern office team reviewing a business report. Use a white and blue corporate color palette, balanced composition, and no embedded text.
A detailed prompt should describe the subject, visual style, composition, orientation, colors, and whether text should appear in the image.
Where model selection is available, use a current supported image model. The official OpenAI documentation identifies GPT Image 2 as a current image-generation model, although the models and configuration options available through Zapier may differ.
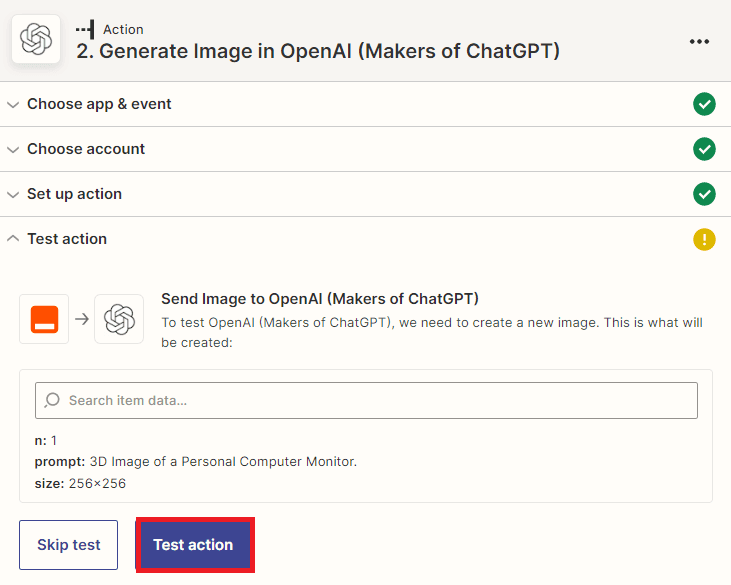
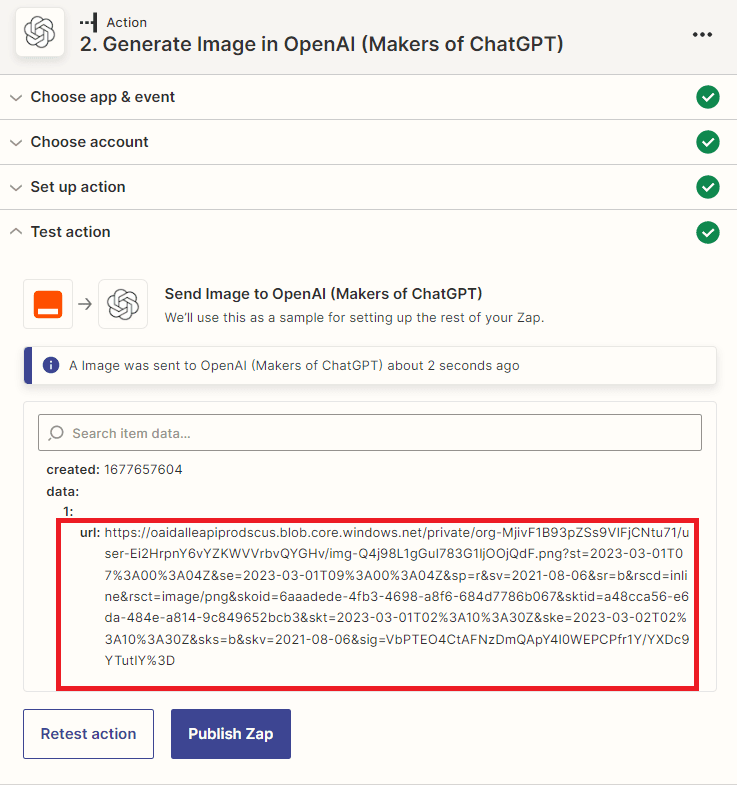
Test the step and confirm that an image is generated.
Step 4: Check the Generated Image Output
Review the test results and locate the generated image output.
PDF.co needs to be able to retrieve the image. Depending on the current ChatGPT (OpenAI) action, Zapier may return:
- An image URL
- A file object
- Image data
- Another type of temporary output
If the action provides a URL that PDF.co can access, map that URL directly in the next step.
If it provides only a file or image data, add an intermediate storage step, such as Google Drive – Upload File. Upload the generated image and use an accessible file or download URL from that step.
Temporary image links can expire. If the Zap may be delayed before the PDF.co step runs, storing the image first can make the workflow more reliable.
Step 5: Add the Image to the PDF with PDF.co
Add another action and select PDF.co.
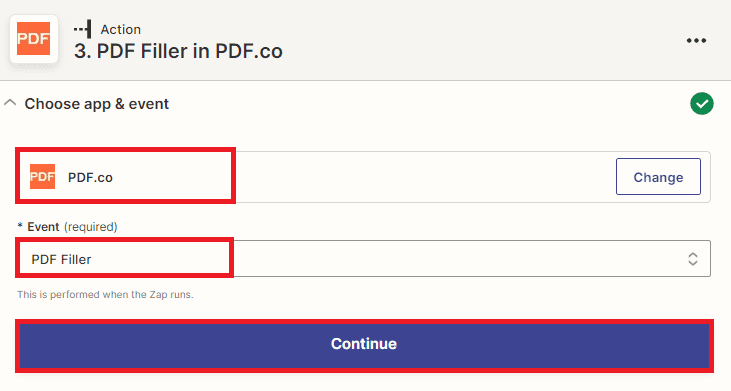
For the action event, choose Add Image to PDF.
Do not use PDF Filler for this workflow. The dedicated Add Image to PDF action is designed to place an image on an existing PDF.
Connect PDF.co
Connect your PDF.co account through the OAuth authorization window displayed by Zapier.
You will be redirected to PDF.co to authorize the connection and then returned to Zapier. Manual API-key entry should not be required for the standard PDF.co Zapier connection.
Configure the Add Image to PDF Action
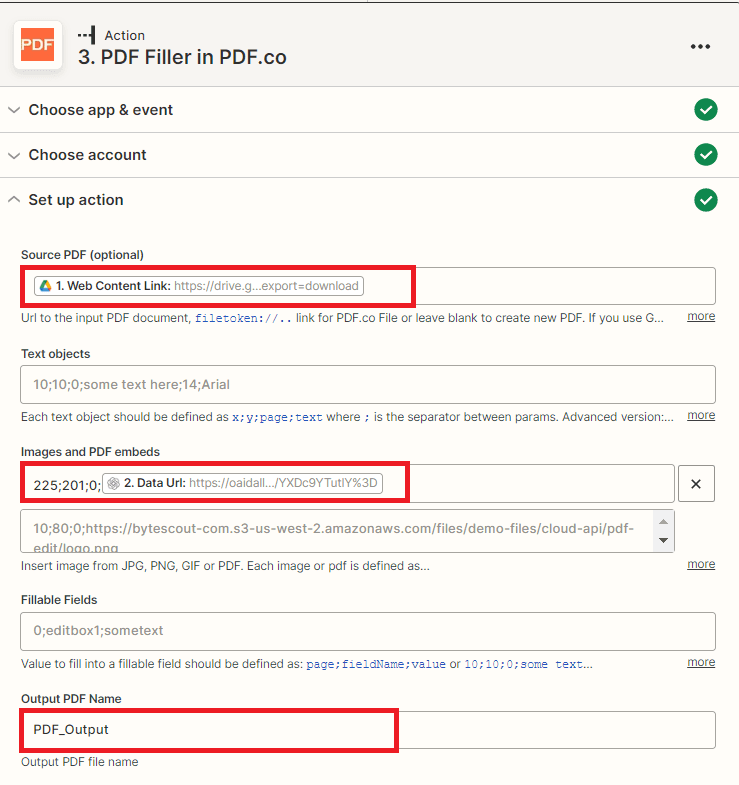
Complete the available fields:
- Source File URL: Map the source PDF from the Google Drive trigger.
- Image URL: Map the generated image URL or the accessible image URL from the intermediate storage step.
- X Coordinate: Enter the horizontal coordinate recorded earlier.
- Y Coordinate: Enter the vertical coordinate recorded earlier.
- Pages: Enter the page or pages where the image should be placed.
When Zapier presents a Google Drive file-mapping option, use the actual file output rather than a browser preview or sharing-page link. If the action requires a URL, make sure it is a direct file URL that PDF.co can retrieve.
The Pages field supports page numbers and ranges. For example:
0adds the image to the first page.0,2adds it to the first and third pages.0-2adds it to the first three pages.0,2-5,7-selects the first page, pages three through six, and page eight through the end.
Leave the Pages field empty only if the intended behavior has been confirmed through testing.
If multiple different images must be added, add another PDF.co – Add Image to PDF step for each image. Use the output PDF from the preceding PDF.co step as the source file for the next one.
Step 6: Test the PDF.co Action
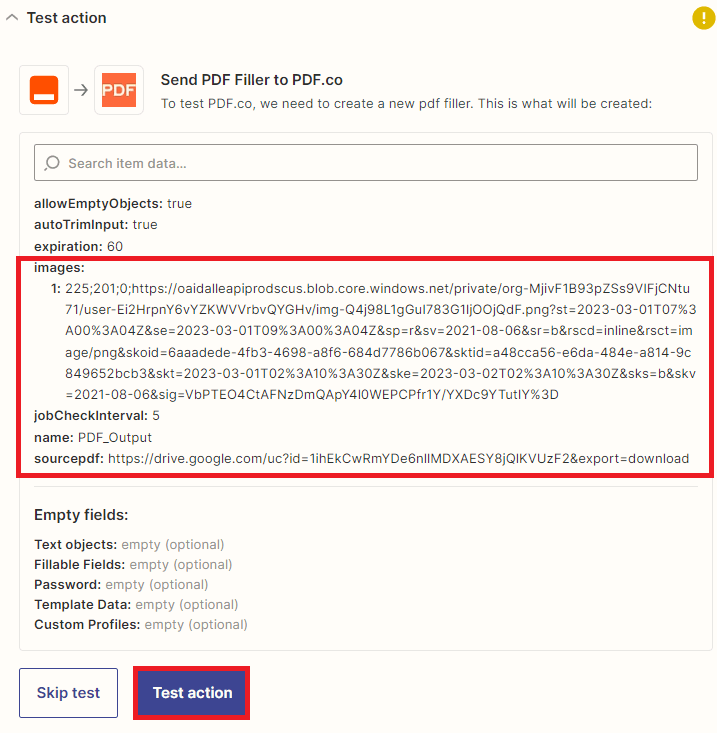
Test the PDF.co step.
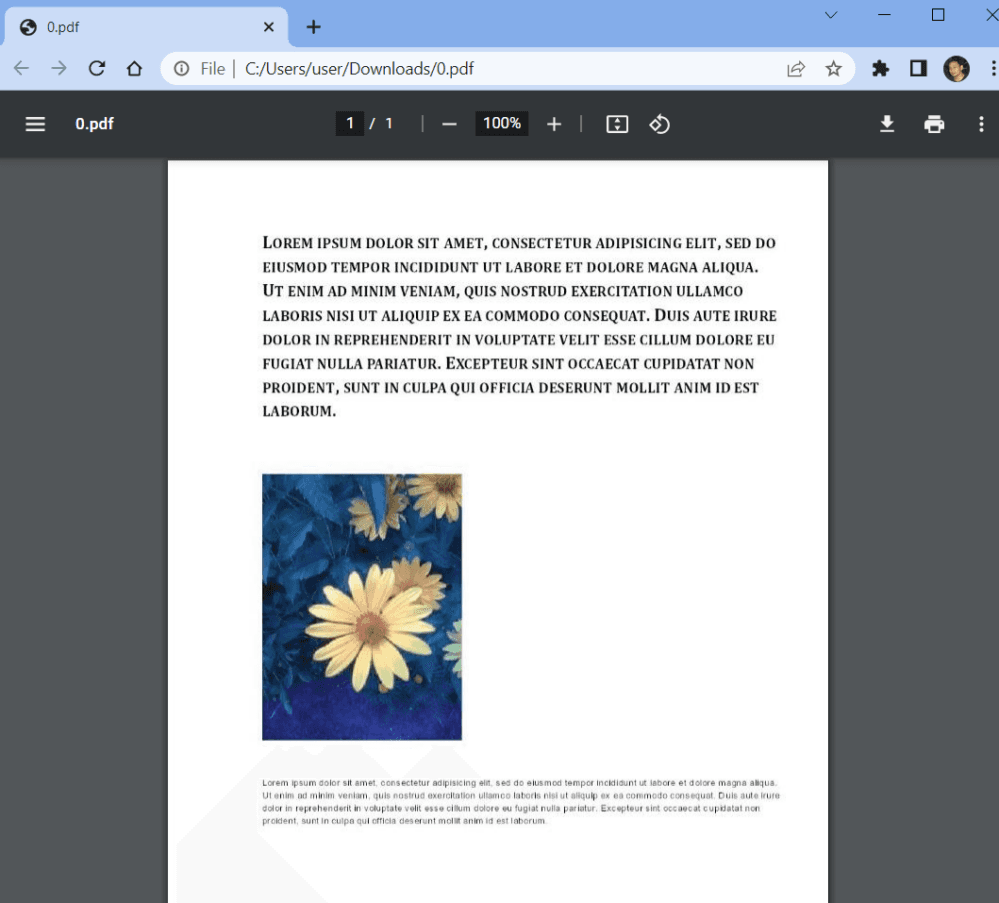
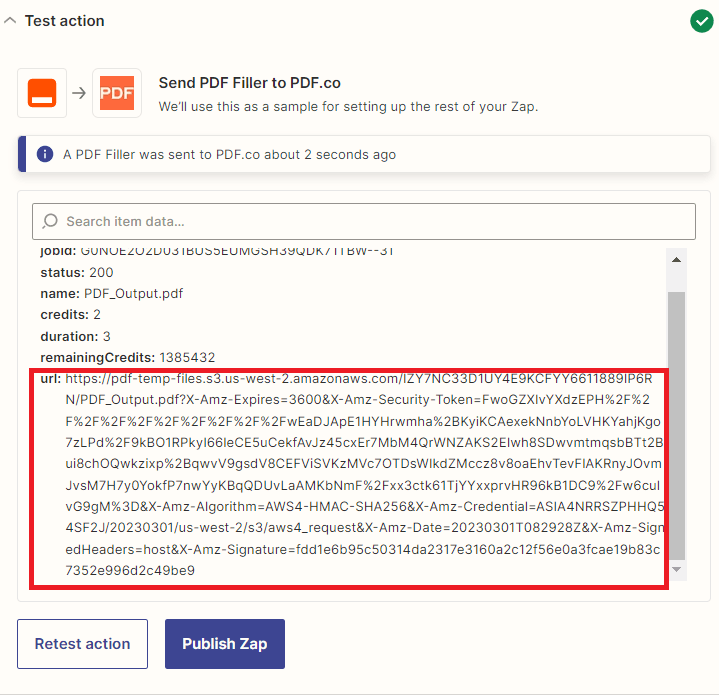
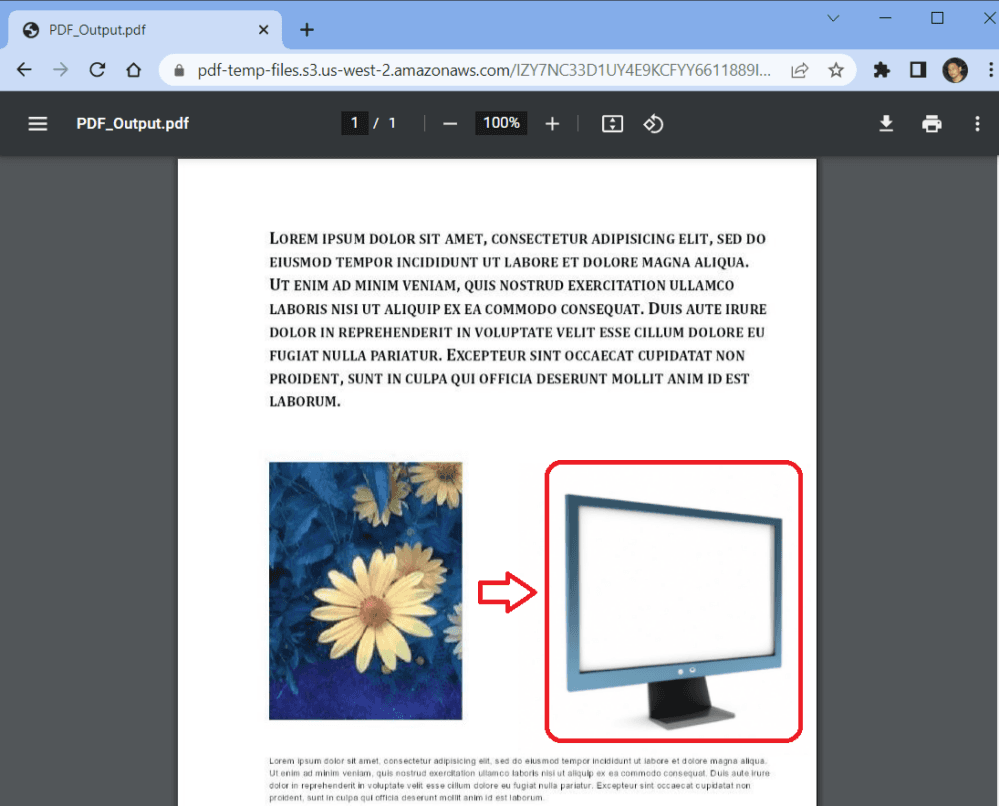
A successful response should include a URL for the processed PDF. Open the result and confirm that:
- The correct PDF was processed.
- The generated image appears on the intended page.
- The X and Y coordinates place it correctly.
- The image does not cover important text or form fields.
- The image quality and proportions are appropriate.
If the image is misplaced, adjust the coordinates and test again.
If the image is too large for the available space and the action does not offer scaling controls, resize the generated image before it reaches PDF.co.
PDF.co output links are temporary. The finished PDF should therefore be transferred to permanent storage before the link expires.
Step 7: Save the Finished PDF to Google Drive
Add a final action and select Google Drive.
Choose Upload File and configure the action:
- Drive: Select the destination drive.
- Folder: Select the output folder for completed PDFs.
- File: Map the PDF URL returned by the PDF.co step.
- File Name: Enter a descriptive name or build one using values from the trigger.
- File Extension: Use
pdfif Zapier provides this field.
For example, the file name could be constructed as:
Illustrated-{{Original File Name}}
Save the completed document to a folder different from the trigger folder. This prevents the new file from activating the Zap again.
Test the upload and verify that the finished PDF opens correctly from Google Drive.
Step 8: Publish the Zap
Review each step and confirm that the mapped fields still refer to the intended outputs.
Then publish or turn on the Zap.
To perform a final test:
- Upload a new PDF to the monitored Google Drive folder.
- Wait for the Zap to run.
- Confirm that an image is generated.
- Verify that PDF.co adds the image to the correct location.
- Confirm that the completed PDF appears in the output folder.
Troubleshooting
PDF.co Cannot Access the Source PDF
A Google Drive browser-view or sharing-page link may not provide direct access to the file. Map the Google Drive file output when possible, or use a direct downloadable URL that PDF.co can retrieve.
PDF.co Cannot Access the Generated Image
The image-generation step may have returned image data, a file object, or an expired temporary URL. Upload the image to accessible storage first and map the resulting URL into PDF.co.
The Image Appears on the Wrong Page
Remember that PDF.co uses zero-based page numbering. Enter 0 for the first page.
The Image Is in the Wrong Position
Use the PDF.co coordinate helper with the same PDF layout used in the automation. Adjust the X and Y coordinates and repeat the test.
The Image Size Is Incorrect
Generate or resize the image to match the available space. If the PDF.co Zapier action does not display scaling settings, resize the image before the Add Image to PDF step.
Placement Varies Between Documents
Fixed coordinates assume that the incoming PDFs share a consistent layout. If layouts differ, create separate workflows for each template or introduce logic that routes each document to the correct placement settings.
The Zap Keeps Running Repeatedly
Make sure the output PDF is not being saved to the folder monitored by the Google Drive trigger. Use separate input and output folders or add a filter that excludes generated files.
Conclusion
You have created an automated workflow that generates an image with ChatGPT (OpenAI), places it on a PDF with PDF.co, and saves the completed document to Google Drive.
Related Tutorials